
Setting up a basketball hoop can be a fun and rewarding project, whether you’re aiming for a driveway court or a backyard oasis. Can you set up a basketball hoop yourself? Absolutely! With the right tools and a little patience, you can have your hoop ready for action in no time.
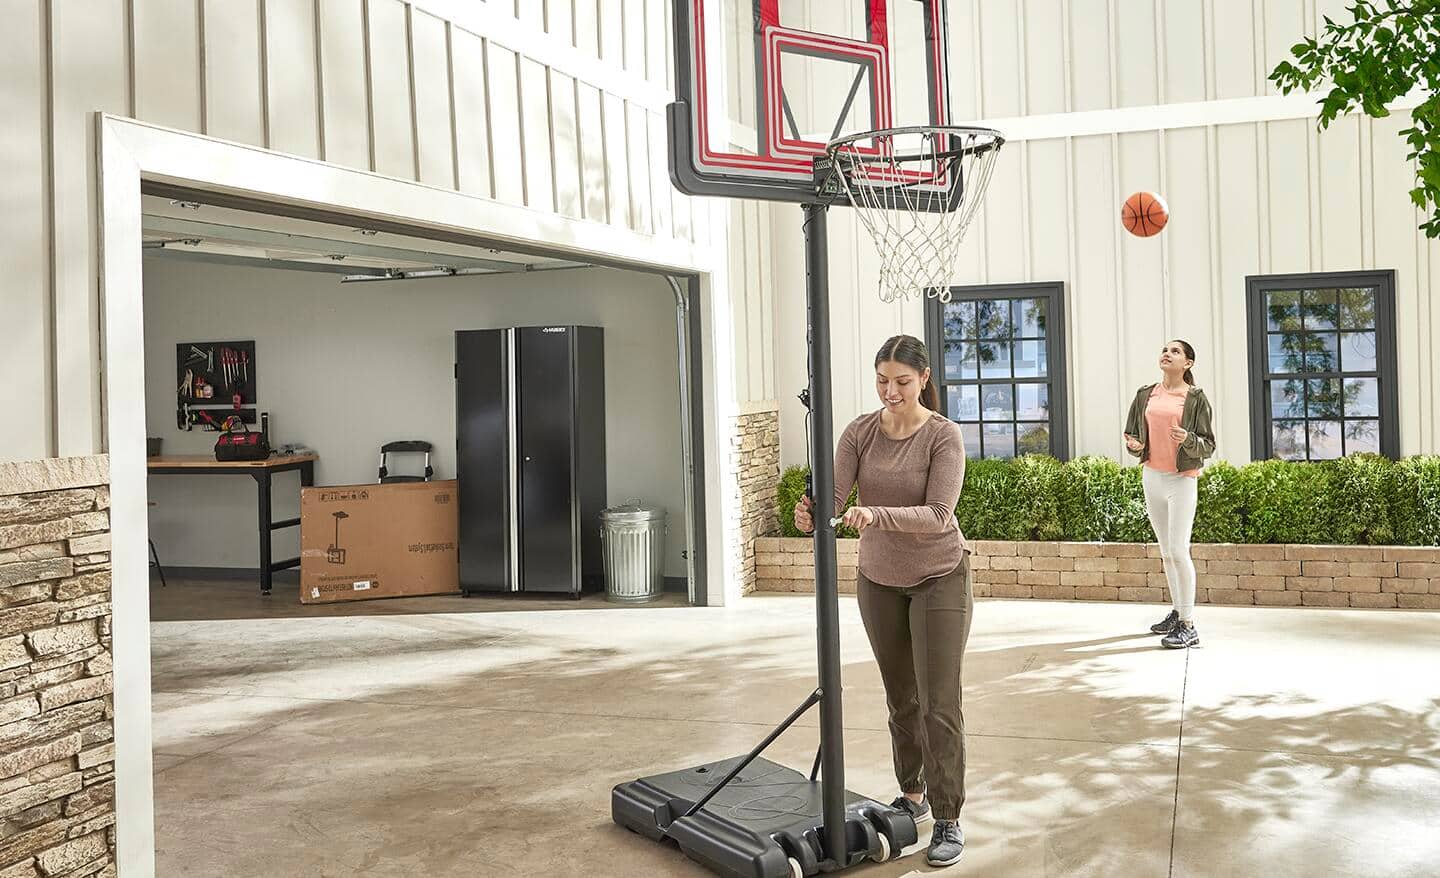
Image Source: dam.thdstatic.com
Choosing the Right Basketball Hoop for Your Space
Picking the perfect basketball hoop is the first big step. There are several types to consider, each with its own advantages. The best choice for you depends on your budget, available space, and how seriously you plan to play.
Types of Basketball Hoops
Here’s a look at the most common types:
- Portable Basketball Hoops: These are fantastic for flexibility. They have a weighted base that can be filled with water or sand, allowing you to move the hoop around your yard or driveway. They are generally easier to assemble and don’t require digging.
- In-Ground Basketball Hoops: These offer the most stability and a professional feel. They are permanently installed in the ground, usually with a concrete footing. This is the best option if you want a durable, pro-level setup.
- Wall-Mounted Basketball Hoops: If you have a sturdy wall, like on a garage or house, a wall-mounted hoop can be a great space-saving solution. Installation can be a bit more involved to ensure it’s securely attached.
- Adjustable Basketball Hoops: Many portable and in-ground hoops come with adjustable heights. This is ideal for families with players of different ages and skill levels, as you can lower the hoop for younger kids and raise it as they grow.
Factors to Consider When Selecting a Hoop
When you’re deciding which basketball hoop to get, think about these things:
- Budget: Hoops range from under $100 for basic portable models to over $1,000 for high-end in-ground systems.
- Space: Measure your yard or driveway. Do you have enough room for the hoop and for players to move around it safely?
- Durability: Consider the materials. Steel poles and acrylic backboards are common and durable.
- Adjustability: Do you need an adjustable height for different players?
- Assembly Difficulty: Some hoops are simpler to put together than others. Check reviews for insights into the basketball hoop installation process.
Gathering Your Tools and Materials
Before you start any basketball hoop installation, make sure you have everything you need. This will save you trips to the store and keep your project moving smoothly.
Essential Tools
Most basketball hoop setups will require these basic tools:
- Wrench Set or Socket Set: For tightening bolts and nuts.
- Screwdrivers: Both Phillips and flathead might be needed.
- Measuring Tape: Crucial for accurate placement.
- Level: To ensure the backboard and rim are straight.
- Shovel or Post Hole Digger: Essential for in-ground installations.
- Wheelbarrow: Useful for mixing concrete (if needed).
- Drill: With various drill bits for pilot holes and driving screws.
- Safety Glasses: Protect your eyes from dust and debris.
- Work Gloves: To protect your hands.
- Ladder: For reaching higher parts of the installation, especially for wall-mounted or taller hoops.
Necessary Materials
The materials will vary based on the type of hoop, but common ones include:
- Basketball Hoop Kit: This includes the backboard, rim, net, pole, and any necessary basketball hoop hardware.
- Concrete Mix: For securing in-ground poles.
- Gravel: For drainage in the hole for in-ground hoops.
- Water: For mixing concrete and filling portable bases.
- Sand: For filling portable bases (optional, but often heavier than water).
Step-by-Step Guide to Setting Up Your Basketball Hoop
The process for mounting a basketball hoop differs greatly depending on the type. Here, we’ll break down the general steps for the most popular options.
Setting Up a Portable Basketball Hoop Assembly
Portable basketball hoop assembly is usually the most straightforward. These systems are designed for DIY installation.
Preparing the Base
- Unpack and Inspect: Lay out all parts and check them against the instruction manual. Ensure all basketball hoop hardware is present.
- Assemble the Base: Connect the base pieces as per the instructions. This might involve sliding poles together or attaching wheels.
- Fill the Base: Carefully fill the base with water or sand. Sand is heavier and provides more stability, but water is easier to drain if you need to move the hoop later. Follow the manufacturer’s recommendations for the amount and type of fill.
- Attach the Pole: Securely attach the main pole to the base. This often involves large bolts and washers. Make sure all connections are tight.
Attaching the Backboard and Rim
- Attach the Backboard: Most backboards attach to the pole using a bracket system. Align the bracket with the pre-drilled holes on the backboard and secure it with bolts and nuts.
- Mount the Rim: Attach the rim to the backboard. Again, use the provided basketball hoop hardware and tighten all bolts securely.
- Attach the Net: Loop the net through the eyelets on the rim and secure it.
- Extend the Pole: If your hoop has an adjustable pole, extend it to your desired height. Most portable systems have a crank or pin mechanism for this.
- Final Tightening: Double-check all bolts and connections to ensure they are tight and secure.
Setting Up an In-Ground Basketball Hoop
In-ground basketball hoop setup requires more effort but offers the best stability and longevity.
Choosing the Hoop Placement
Proper basketball hoop placement is critical for an in-ground system.
- Clearance: Ensure there’s ample space behind the backboard for rebound and play. You don’t want it too close to fences, trees, or other obstructions.
- Safety: Avoid placing the hoop directly under power lines or in areas with poor drainage.
- Playing Area: Consider the size of your court. A standard driveway might accommodate a half-court, while a larger backyard could allow for more.
- Wind: Strong winds can affect the stability of taller hoops. Position it in a sheltered spot if possible.
Digging the Hole
- Mark the Spot: Based on your chosen basketball hoop placement, mark the center of where the pole will go.
- Determine Hole Size: Consult your hoop’s instructions for the recommended hole diameter and depth. Typically, it’s around 2-3 feet deep and 1-2 feet wide.
- Dig: Use a shovel or post hole digger to excavate the hole. Dig slightly wider than you think you’ll need for easier concrete pouring.
- Add Gravel: Pour a few inches of gravel into the bottom of the hole. This helps with drainage and prevents the pole from sitting in water.
Installing the Pole and Backboard
- Assemble Pole Sections: If the pole comes in multiple sections, assemble them according to the instructions.
- Mix Concrete: Follow the instructions on the concrete bag for the correct water-to-mix ratio. Mix thoroughly in a wheelbarrow.
- Position the Pole: Place the pole into the center of the hole, ensuring it’s upright. You might need temporary bracing (like wooden stakes) to hold it in place while the concrete sets. Use a level to ensure the pole is perfectly vertical.
- Pour Concrete: Carefully pour the mixed concrete into the hole around the pole. Fill it to the top. Smooth the surface to allow water to run off.
- Let Concrete Cure: Allow the concrete to cure completely. This usually takes 24-72 hours, depending on the weather. Do not put any weight or stress on the pole during this time.
- Attach Backboard and Rim: Once the concrete is cured, attach the backboard and rim to the pole using the provided basketball hoop hardware. Again, use a level to ensure everything is straight.
- Attach Net: Secure the net to the rim.
- Adjust Height (if applicable): If you have an adjustable system, set the desired height.
Setting Up a Wall-Mounted Basketball Hoop
Mounting a basketball hoop to a wall requires careful consideration of the wall’s strength.
Assessing Wall Strength
- Type of Wall: A solid brick or concrete wall is ideal. Wooden studs can also work if the hoop is lightweight and properly anchored. Avoid hollow block walls unless specifically designed for such loads.
- Load Capacity: Ensure the wall can support the weight of the hoop, especially during play when it experiences dynamic forces.
Installation Process
- Locate Studs (for wooden walls): Use a stud finder to locate wall studs. Mark their centers.
- Mark Mounting Points: Hold the mounting bracket against the wall at your desired height and use a level to ensure it’s straight. Mark the drilling locations, aligning them with studs if necessary.
- Drill Pilot Holes: Drill pilot holes at your marked locations. Use a drill bit slightly smaller than the lag bolts you’ll be using.
- Attach Bracket: Secure the mounting bracket to the wall using heavy-duty lag bolts and washers. Ensure the bolts are driven firmly into the studs or solid wall material.
- Assemble and Attach Hoop: Assemble the backboard and rim, then attach it to the wall bracket according to the manufacturer’s instructions.
- Attach Net: Secure the net to the rim.
- Check Stability: Gently push and pull on the hoop to ensure it’s securely mounted and doesn’t wobble.
Adjusting and Maintaining Your Basketball Hoop
Once your hoop is set up, a little adjustable basketball hoop installation fine-tuning and regular maintenance will keep it in great playing condition.
Setting the Correct Height
The official NBA rim height is 10 feet. For younger players, it’s often recommended to start lower.
- Beginners/Young Children: 6-8 feet
- Youth (ages 8-12): 8-9 feet
- Teens and Adults: 9-10 feet
If you have an adjustable hoop, make these adjustments based on who is playing. Always ensure bolts are tightened after adjusting the height.
Routine Maintenance
To keep your basketball hoop in top shape:
- Check Hardware: Regularly inspect all bolts, nuts, and screws. Tighten any that have loosened. This is crucial for the safety and stability of your basketball hoop hardware.
- Inspect the Backboard: Wipe down the backboard with a damp cloth to remove dirt and grime. Check for cracks or damage.
- Examine the Rim and Net: Make sure the rim is securely attached and the net isn’t frayed or torn. Replace nets as needed.
- Portable Hoop Base: If you have a portable hoop, check the fill level of the base periodically, especially after extreme temperature changes.
- In-Ground Pole: For in-ground hoops, check around the base of the pole for any signs of rust or damage.
Tips for Safe Basketball Hoop Use
Safety should always be the top priority when setting up and using a basketball hoop.
- Clear Playing Area: Ensure the area around the hoop is free of obstacles, debris, and slippery surfaces.
- Proper Footwear: Players should wear athletic shoes with good grip.
- No Hanging on the Rim: Discourage players from hanging on the rim or bending the support arms, as this can damage the hoop and lead to injury.
- Supervise Children: Always supervise children when they are playing basketball.
- Weather Conditions: Avoid playing during thunderstorms or excessively windy conditions.
Frequently Asked Questions About Basketball Hoop Setup
Here are some common questions people have about setting up their basketball hoops:
Q1: How deep should the hole be for an in-ground basketball hoop?
A1: The depth typically ranges from 2 to 3 feet, but always check your specific hoop’s manual. The hole should also be wide enough to accommodate the concrete needed to secure the pole.
Q2: Can I set up a basketball hoop by myself?
A2: Yes, many portable and some lighter in-ground hoops can be set up by one person. However, for in-ground systems, especially those requiring concrete, having a second person to help hold the pole steady while pouring concrete is highly recommended for safety and proper installation.
Q3: What’s the best way to fill a portable basketball hoop base?
A3: Sand offers the most weight and stability, making it a preferred choice for serious players or those in windy areas. Water is easier to handle for filling and draining, and often sufficient for casual play. Some manufacturers recommend a mix of both.
Q4: How long does concrete need to cure before I can use the hoop?
A4: Generally, you should wait 24 to 72 hours for the concrete to cure sufficiently before putting any stress on the pole. Always refer to the concrete manufacturer’s instructions for specific curing times.
Q5: My driveway basketball hoop setup seems wobbly. What can I do?
A5: If you have a portable hoop, ensure the base is completely filled and all bolts securing the pole to the base are extremely tight. For in-ground setups, a wobbly pole usually indicates insufficient concrete or improper curing. You may need to reinforce the base or, in severe cases, reset the pole with more concrete.
Q6: What are the advantages of an adjustable basketball hoop installation?
A6: An adjustable basketball hoop installation allows you to change the rim height. This is beneficial for accommodating players of different ages and skill levels, making the game more enjoyable and accessible for everyone in the family. It also allows you to gradually increase the height as players improve.
Q7: How do I ensure my backyard basketball hoop installation is safe?
A7: Safety involves several factors: proper basketball hoop placement with adequate clearance, secure basketball hoop hardware that is regularly checked, and ensuring the playing surface is clear of hazards. For in-ground systems, a solid concrete base is crucial.
Q8: What is the most important piece of basketball hoop hardware to check?
A8: All basketball hoop hardware is important for safety and stability. However, the bolts that secure the rim to the backboard and the pole to the base are particularly critical. Regularly tightening these can prevent accidents.
By following these steps, you can successfully set up your basketball hoop and create a fantastic space for fun and exercise. Enjoy your new court!