
So, you’re ready to elevate your game with your very own basketball hoop! You might be wondering, “What is the best place for a basketball hoop?” or “Can I set up a basketball hoop by myself?” The answer to both is yes! Setting up a basketball hoop can seem daunting, but with this easy guide, you’ll be shooting hoops in no time. This guide covers everything from choosing the right spot to securing your hoop for years of fun.
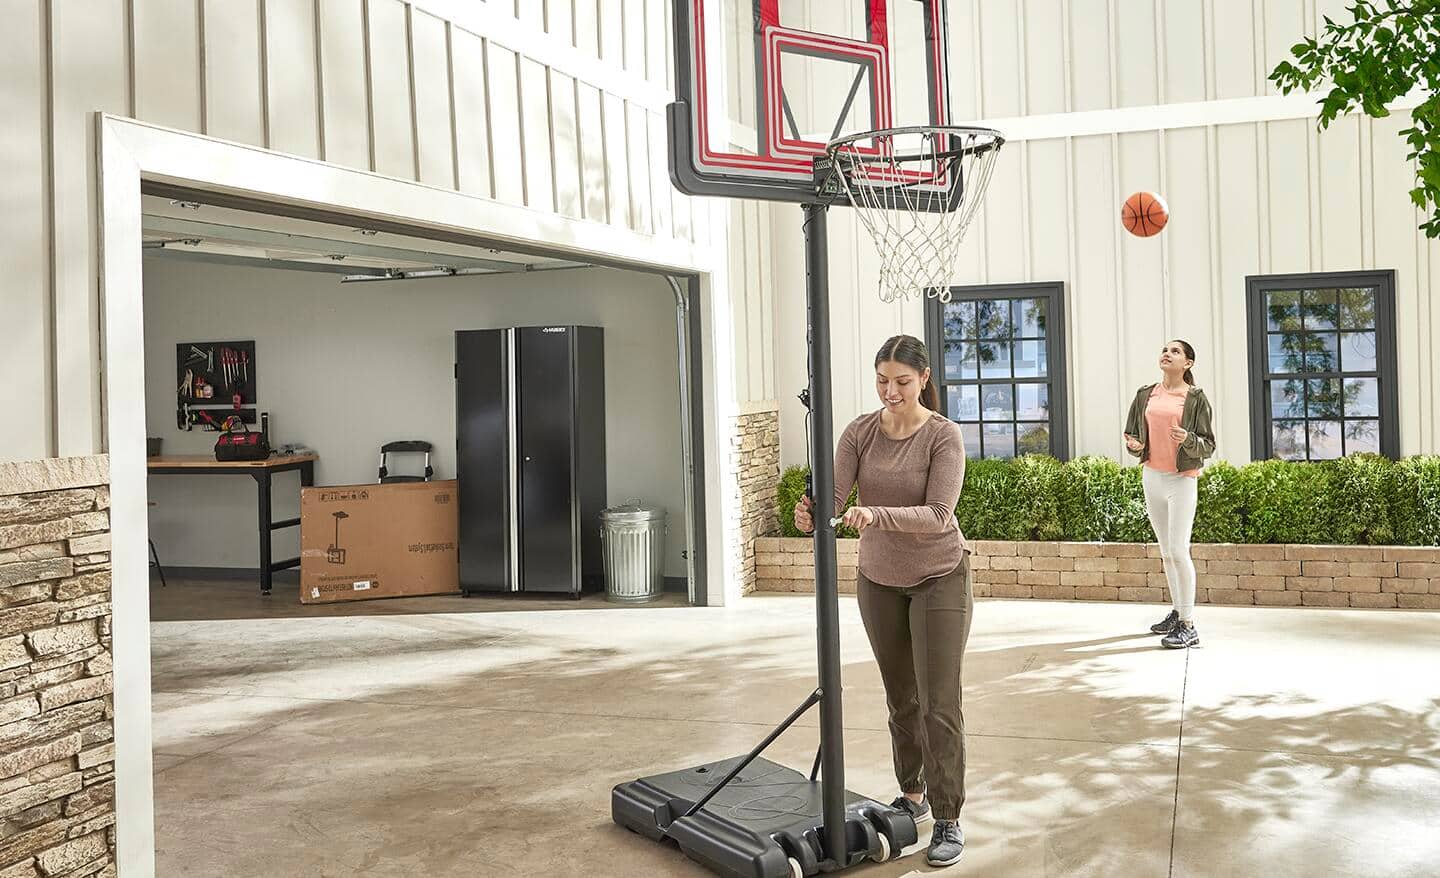
Image Source: dam.thdstatic.com
Choosing Your Hoop and Location
Before you start bolting things together, let’s talk about the type of hoop you have and where it will live. Different hoops have different needs.
Types of Basketball Hoops
There are several popular types of basketball hoops, each with its own installation process.
- In-Ground Basketball Hoops: These are permanent fixtures, offering the most stability and professional feel. They require digging a hole and setting the pole in concrete.
- Portable Basketball Hoops: These come with a base that can be filled with water or sand for stability. They are great if you might need to move your hoop later.
- Wall-Mount Basketball Hoops: These attach directly to a wall or roof, often seen at schools or on garages.
Finding the Best Place for Your Basketball Hoop
The ideal location for your basketball hoop is crucial for safety and the best playing experience.
Driveway Basketball Hoop Placement
Most people install hoops on their driveways. Here’s what to consider:
- Clearance: Ensure there’s enough space behind the backboard and around the court area. You don’t want to hit a car, fence, or house when you go for a layup or a rebound.
- Surface: A flat, level surface is essential. Uneven ground can make your hoop unstable.
- Sunlight: Think about when you’ll be playing. Will the sun be directly in your eyes?
- Obstacles: Look out for trees, bushes, or overhead wires that could interfere with play or the hoop itself.
Backyard Basketball Hoop Mounting
If you have a backyard, you have more options.
- Open Space: A large, flat area is perfect. This allows for a full court or at least a decent playing area.
- Ground Stability: Ensure the ground can support the weight of the hoop, especially for in-ground systems.
- Aesthetics: Consider how the hoop will look in your yard. Will it block a view or take up too much space?
Assembling Your Hoop: Step-by-Step
Now that you’ve chosen your spot, let’s get down to assembly. We’ll cover the general steps, but always refer to your hoop’s specific instruction manual.
Portable Basketball Hoop Assembly
Portable hoops are generally the easiest to set up.
Unpacking and Identifying Parts
- Open the Box: Carefully open the packaging and lay out all the parts.
- Check the Manual: Your instruction manual will have a list of all parts and hardware. Compare this to what you have. Make sure nothing is missing or damaged.
- Group Similar Parts: Grouping screws, bolts, poles, and backboard components can make assembly smoother.
Assembling the Pole and Base
- Connect Pole Sections: Most portable hoops have a multi-piece pole. Slide the sections together and secure them with the provided bolts. Ensure they are firmly tightened.
- Attach to the Base: The pole usually attaches to the base with a bracket. Align the holes and insert the bolts.
- Fill the Base: Once the pole is attached, it’s time to fill the base.
- Water: Use a hose to fill the base. Most bases have a fill hole. This is lighter but can freeze in cold weather, potentially cracking the plastic.
- Sand: Sand offers more weight and stability, and it won’t freeze. It’s heavier to move, though.
- Leveling the Base: Make sure the base is sitting on a level surface before filling it completely.
Attaching the Backboard and Rim
- Mount the Backboard: The backboard usually attaches to the pole with a bracket. Align the holes on the backboard with the bracket and secure them with bolts.
- Attach the Rim: The rim bolts onto the front of the backboard. Ensure it’s centered and tightened securely.
- Install Net: Hook the net onto the rim.
In-Ground Basketball Hoop Setup
In-ground hoops are more involved but offer superior durability.
Preparing the Hole
This is the most critical step for in-ground basketball hoop setup.
- Mark the Location: Decide exactly where the pole will go. Consider your desired court layout and safety zones.
- Dig the Hole: The size of the hole depends on your hoop’s pole diameter and the manufacturer’s recommendations. Generally, a hole 2-4 feet deep and 18-24 inches wide is standard. You’ll need a post-hole digger or shovel.
- Add Gravel (Optional but Recommended): Put a few inches of gravel at the bottom of the hole for drainage. This prevents water from pooling around the base of the pole.
Installing the Pole
- Anchor System: Many in-ground hoops use an anchor kit. This is a steel plate with bolts that you place in the hole and then secure with concrete. This anchors the pole firmly.
- Assemble Anchor Bolts: If your hoop uses an anchor kit, you’ll assemble the U-bolts or anchor bolts onto the pole base.
- Position the Pole: Carefully lower the pole with the attached anchor system into the hole.
- Level the Pole: This is crucial! Use a level on two adjacent sides of the pole. You might need to adjust the anchor bolts or add/remove soil to get it perfectly vertical.
- Concrete Mixing and Pouring:
- Mix Concrete: Follow the instructions on the concrete bag. Use a wheelbarrow and shovel for mixing. Aim for a consistency like thick oatmeal.
- Pour Concrete: Pour the mixed concrete into the hole around the pole and anchor system. Fill the hole completely.
- Basketball Hoop Leveling: While the concrete is wet, use your level again to ensure the pole is perfectly straight. Adjust as needed.
- Curing Time: Allow the concrete to cure for at least 24-72 hours, or as recommended by the concrete manufacturer. Do not attempt to attach the backboard or rim until the concrete is fully set.
Attaching the Backboard and Rim to the Pole
- Mount the Backboard: Once the concrete is cured, attach the backboard to the pole using the provided hardware. This often involves a heavy-duty bracket.
- Attach the Rim: Secure the rim to the front of the backboard.
- Install Net: Attach the net to the rim.
Wall-Mount Basketball Hoop Mounting
For those attaching to a garage or wall, precision is key.
Securing the Backboard Bracket
- Identify Wall Studs: For wooden walls, locate the wall studs. Use a stud finder. Attaching to studs is essential for strength.
- Mark Mounting Points: Hold the backboard bracket against the wall in your desired position. Use a level to ensure it’s straight. Mark the hole locations.
- Drill Pilot Holes: Drill pilot holes at your marked spots. The size of the pilot hole should be slightly smaller than the lag bolts you’ll be using.
- Attach Bracket: Secure the bracket to the wall using heavy-duty lag bolts. Make sure they are driven firmly into the studs.
Attaching the Backboard and Rim
- Mount the Backboard: Attach the backboard to the secured bracket.
- Attach the Rim: Secure the rim to the front of the backboard.
- Install Net: Attach the net to the rim.
Adjusting Basketball Hoop Height
A key feature of many basketball hoops is adjustable height. This allows players of different ages and skill levels to enjoy the game.
How to Adjust Hoop Height
- Locate the Adjustment Mechanism: This varies by model. It could be a crank, a pin system, or a bolt system.
- Follow Manual Instructions: Your manual will detail the specific steps for your hoop.
- Safety First: Ensure no one is standing directly under the hoop or rim during adjustment. The backboard and rim can be heavy.
- Common Mechanisms:
- Crank System: Usually involves a crank handle that you turn to raise or lower the backboard.
- Pin System: Often involves removing and re-inserting a pin through different holes on the pole to set the height.
- Bolt System: May require loosening and re-tightening bolts to change the height.
Standard Hoop Heights
- Regulation Height: 10 feet (3.05 meters) is the standard height for professional and college play.
- Youth Play: For younger children, a lower height (e.g., 6-8 feet) is recommended.
Table: Recommended Hoop Heights for Different Age Groups
| Age Group | Recommended Hoop Height |
|---|---|
| 5-7 years | 5-6 feet |
| 8-10 years | 7-8 feet |
| 11-13 years | 9 feet |
| 14+ years / Adults | 10 feet |
Basketball Hoop Anchoring
Proper basketball hoop anchoring is vital for stability and safety, especially for in-ground and portable hoops.
In-Ground Hoop Anchoring
As discussed in the in-ground setup, the concrete base with an anchor kit is the primary method of anchoring. This embeds the pole deep into the ground, making it incredibly stable.
Portable Hoop Anchoring
While portable hoops have a weighted base, you can enhance their stability further.
- Sand vs. Water: Sand provides more consistent weight and is less prone to evaporation or freezing damage.
- Sandbags: For extra security, especially in windy areas, you can place sandbags around the base.
- Ground Stakes: Some bases have loops where you can insert ground stakes to secure them to the earth.
Basketball Hoop Leveling
A level hoop is essential for fair play and to prevent stress on the equipment.
Why Hoop Leveling Matters
- Fair Play: An unlevel rim can affect shot trajectory and make games unfair.
- Equipment Longevity: A crooked hoop can put uneven stress on the backboard, rim, and pole, leading to premature wear.
- Safety: An unstable, unlevel hoop can be a tipping hazard.
Tips for Leveling
- Use a Level: A spirit level is your best friend here. Place it on the rim itself, and on the backboard edges, to check for straightness.
- Adjust Base (Portable): If your portable hoop is tilting, try adding shims or adjusting the fill material to level the base.
- Adjust Anchor Bolts (In-Ground): During concrete pouring, meticulous adjustment of the anchor bolts is key to basketball hoop leveling.
- Check Over Time: Periodically check your hoop’s level, especially after strong winds or heavy use.
Outdoor Basketball Hoop Maintenance
To keep your hoop in great shape for years, a little maintenance goes a long way.
Protecting Your Hoop from the Elements
- Covers: Consider a durable cover for your hoop during the off-season or periods of extreme weather. This protects the backboard, rim, and net from sun, rain, and snow.
- Rust Prevention: For metal parts, a coat of rust-inhibiting paint can prevent corrosion, especially if you live in a humid or coastal environment.
Regular Checks and Cleaning
- Inspect Hardware: Periodically check all bolts and nuts to ensure they are tight. Loose hardware can lead to instability.
- Clean the Backboard: Wipe down the backboard with a damp cloth and mild soap to remove dirt and grime. Avoid abrasive cleaners that could scratch the surface.
- Net Care: Check the net for wear and tear. Replace it if it’s frayed or torn, as this can affect gameplay.
- Base Stability (Portable): If you have a portable hoop, check the fill level in the base periodically. Water can evaporate, and sand can settle.
Dealing with Wind and Weather
- Lower the Hoop: If you have an adjustable hoop and expect very high winds, lowering the backboard can reduce the surface area exposed to the wind, making it less likely to tip or get damaged.
- Extra Anchoring: As mentioned, adding sandbags or stakes to portable bases can significantly improve their stability in windy conditions.
Frequently Asked Questions (FAQ)
Q1: How deep should the hole be for an in-ground basketball hoop?
A1: The depth of the hole for an in-ground basketball hoop typically ranges from 2 to 4 feet. Always consult your hoop’s specific installation manual for the recommended depth, as it can vary based on the pole size and hoop manufacturer.
Q2: Can I install a basketball hoop by myself?
A2: Yes, many basketball hoops, especially portable ones, can be assembled and installed by one person. However, for in-ground hoops, having an extra pair of hands can be very helpful, particularly when setting the pole in concrete.
Q3: What’s the best way to anchor a portable basketball hoop?
A3: The primary method for anchoring a portable basketball hoop is by filling its base with water or sand. Sand offers more weight and stability, especially in windy conditions. For added security, you can also use sandbags or ground stakes if your base has attachment points.
Q4: How do I know if my basketball hoop is level?
A4: To check if your basketball hoop is level, use a spirit level. Place it on the rim and the edges of the backboard. The bubble in the level should be centered. For in-ground installations, the crucial leveling happens when you pour the concrete; for portable hoops, ensure the base itself is on level ground and adjust as needed.
Q5: Is it okay to leave a portable basketball hoop outside all year round?
A5: While many portable hoops are designed for outdoor use, leaving them exposed to harsh weather (heavy snow, ice, extreme sun) year-round can shorten their lifespan. Consider covering the hoop or storing it in a protected area during harsh weather if possible. Also, ensure the base is filled with sand, not water, in freezing climates to prevent cracking.
Q6: What is the best type of concrete to use for setting an in-ground basketball hoop pole?
A6: Standard concrete mix, often referred to as “all-purpose” or “deck” concrete, is suitable for setting basketball hoop poles. It’s important to mix it to the correct consistency as per the manufacturer’s instructions and to allow adequate curing time before applying any stress to the pole.
Q7: My driveway basketball hoop placement has a slight slope. What should I do?
A7: For a slight slope, you can try to level the base of your portable hoop using sturdy, weather-resistant materials like treated wood blocks or specialized leveling shims. If the slope is significant, you might need to consider an in-ground installation where you can excavate and create a truly level pad for the concrete footing.
Q8: How often should I perform outdoor basketball hoop maintenance?
A8: Basic checks like tightening hardware and cleaning the backboard can be done monthly or as needed. More thorough maintenance, such as inspecting the net for wear and checking the base fill, should be done at least twice a year, typically in spring and fall.
Q9: Can I adjust the basketball hoop height on any type of hoop?
A9: Not all basketball hoops have adjustable heights. In-ground and many portable hoops offer this feature. Wall-mounted hoops are typically fixed at a certain height determined by their installation. Always check the product specifications before purchasing if adjustability is important to you.
Q10: What are the risks of improper basketball hoop installation?
A10: Improper installation can lead to a range of problems, including instability, the hoop tipping over, damage to the backboard or rim, and potential injury to players. For in-ground hoops, a poorly set pole can lean or even break. For portable hoops, inadequate anchoring can lead to the unit moving or falling over during play or strong winds. Always follow the manufacturer’s instructions meticulously.