
Can you paint your own basketball court? Yes, you absolutely can paint your own basketball court with the right preparation, materials, and a bit of elbow grease! This guide will walk you through the entire basketball court painting process, from start to finish, ensuring you achieve a professional-looking finish for your DIY basketball court. Whether you have an asphalt basketball court or a concrete surface, this comprehensive guide will equip you with the knowledge to tackle your project.
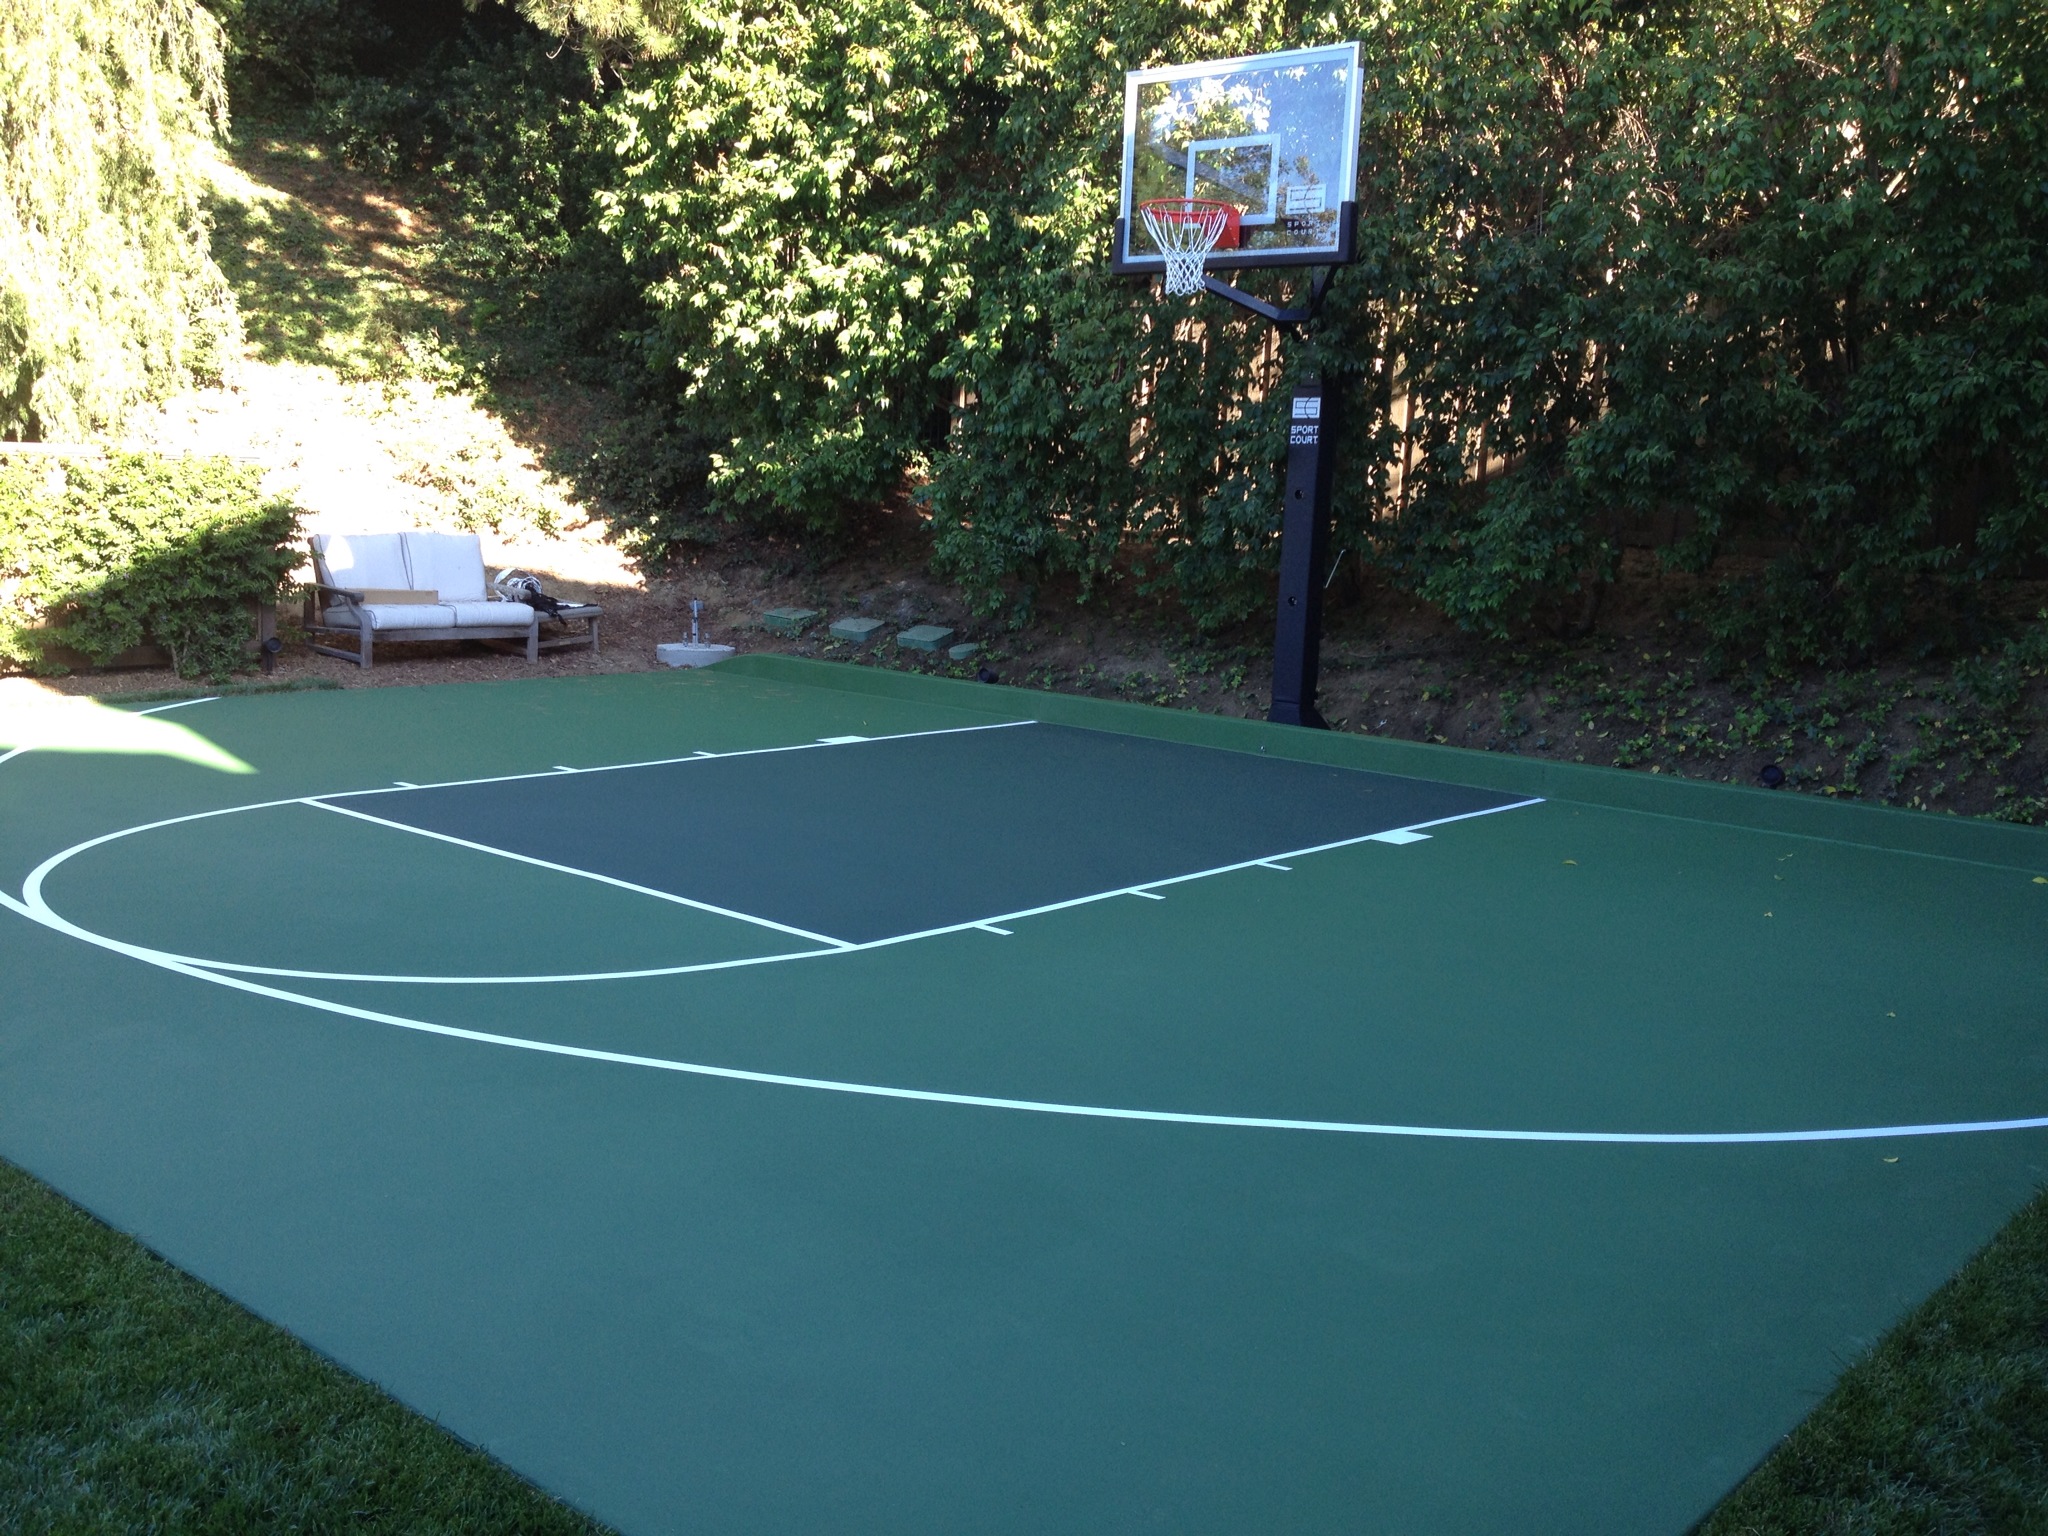
Image Source: localtenniscourtresurfacing.com
Why Paint Your Basketball Court?
A freshly painted basketball court is more than just a visual upgrade; it’s a functional improvement that enhances the playing experience. It revitalizes an old surface, making it safer and more inviting. Beyond aesthetics, proper sports court painting can also extend the life of your court.
Benefits of a Painted Court:
- Improved Aesthetics: A bright, clean court makes your property more appealing.
- Enhanced Safety: A non-slip surface reduces the risk of falls.
- Durability: The right paint protects the surface from weather damage and wear.
- Clear Lines: Properly marked lines are crucial for regulation play and player safety.
- Increased Property Value: A well-maintained court can be a significant selling point.
Planning Your Basketball Court Painting Project
Before you grab a brush, careful planning is key. This involves assessing your current court’s condition, gathering the necessary supplies, and deciding on your design.
Assessing Your Current Court
The first step in basketball court resurfacing or repainting is to inspect your existing court surface. Look for any cracks, holes, or uneven areas. These will need to be addressed before you can paint.
Common Court Issues:
- Cracks: Small cracks can be filled with a concrete crack filler. Larger cracks may require a more extensive repair.
- Potholes: These need to be patched with asphalt patching material or concrete repair mix, depending on your court’s surface.
- Weeds and Debris: Any vegetation or loose material must be removed completely.
- Old Paint: If the old paint is peeling or flaking significantly, it might need to be scraped or power washed away.
Gathering Your Supplies
Choosing the right materials is crucial for a long-lasting and professional-looking court. Using the best paint for basketball courts will ensure durability and vibrant colors.
Essential Supplies Checklist:
- Court Cleaner/Degreaser: For removing dirt, oil, and grime.
- Pressure Washer: For thorough cleaning.
- Crack Filler/Patching Compound: For repairing surface imperfections.
- Caulking Gun: If using crack filler tubes.
- Stiff Bristle Brushes or Brooms: For sweeping and scrubbing.
- Paint Rollers: With extension poles for efficient application.
- Paint Brushes: For detail work and edges.
- Painter’s Tape: High-quality tape for clean line definition.
- Line Striping Machine (Optional but Recommended): For precise basketball court lines.
- Outdoor Basketball Court Paint: Specifically designed for durability and weather resistance. Acrylic latex or epoxy-based paints are good choices.
- Primer (Optional but Recommended): Especially for new or severely weathered surfaces.
- Measuring Tape and Chalk Line: For marking out your court dimensions.
- Safety Gear: Gloves, eye protection, masks.
Designing Your Court
Consider the layout of your basketball court lines. Standard dimensions are important for official play, but you can also get creative with color schemes and custom designs.
Standard Court Dimensions (NBA):
| Feature | Dimension (Feet) | Dimension (Meters) |
|---|---|---|
| Length | 94 | 28.65 |
| Width | 50 | 15.24 |
| Three-Point Line | 23 feet 9 inches (at apex) | 7.24 meters |
| Free Throw Line | 19 feet from backboard | 5.79 meters |
| Lane (Key) | 16 feet wide | 4.88 meters |
Step-by-Step Guide: The Basketball Court Painting Process
This section details the entire basketball court painting process, ensuring a thorough and effective approach.
Step 1: Thorough Court Preparation
This is arguably the most critical phase. Proper basketball court preparation lays the foundation for a successful paint job.
Cleaning the Surface:
- Clear the Court: Remove all debris, furniture, or toys from the court surface.
- Sweep Thoroughly: Use a stiff broom or leaf blower to remove loose dirt, leaves, and dust.
- Wash the Court:
- For Asphalt Basketball Courts: Use a specialized asphalt cleaner or a strong degreaser mixed with water. Apply it to the surface and scrub with a stiff brush or use a pressure washer. Rinse thoroughly to remove all residue.
- For Concrete Courts: Use a concrete cleaner or a mixture of TSP (trisodium phosphate) and water. Scrub vigorously and rinse well.
- Pressure Washing: A pressure washer is highly recommended for deep cleaning. Ensure you use the correct nozzle and pressure setting to avoid damaging the surface. Work in a systematic pattern.
- Allow to Dry Completely: This is vital. Any moisture left on the surface will prevent the paint from adhering properly. Allow at least 24-48 hours of dry weather after washing before proceeding.
Repairing Imperfections:
- Fill Cracks:
- For small cracks, use a flexible concrete crack filler applied with a caulk gun or trowel.
- For larger cracks, you may need a heavier-duty patching compound. Follow the product’s instructions carefully.
- Patch Holes and Potholes:
- For asphalt, use an asphalt patching compound.
- For concrete, use a concrete repair mix.
- Ensure repairs are flush with the existing surface.
- Allow Repairs to Cure: Give the patching materials sufficient time to cure and harden according to the manufacturer’s recommendations. This might take several days.
Step 2: Priming (Optional but Recommended)
A primer can significantly improve paint adhesion and longevity, especially on new or weathered surfaces.
- Choose the Right Primer: Select a primer specifically designed for exterior concrete or asphalt surfaces.
- Application: Apply a thin, even coat of primer using a roller or sprayer.
- Drying Time: Allow the primer to dry completely as per the manufacturer’s instructions.
Step 3: Laying Out the Court Lines
Accurate lines are essential for a functional basketball court.
- Measure and Mark: Using your measuring tape, chalk line, and the standard court dimensions, carefully mark out all the lines: sidelines, baselines, free-throw lines, the key, and the three-point arc.
- Double-Check Measurements: Accuracy here is paramount. Ensure all distances and angles are correct.
- Apply Painter’s Tape: Once your lines are marked, apply high-quality painter’s tape along the edges of each line. Press the tape down firmly to create a clean seal and prevent paint from bleeding underneath. For curved lines like the three-point arc, you might need to use flexible painter’s tape.
Step 4: Painting the Court
This is where your court begins to transform!
Painting the Main Court Surface:
- Apply the Base Coat:
- Pour the outdoor basketball court paint into a paint tray.
- Using a roller with an extension pole, apply a thin, even coat of paint to the entire court surface. Avoid applying the paint too thickly, as this can lead to peeling.
- Work in sections, maintaining a wet edge to avoid lap marks.
- Allow Drying Time: Let the first coat dry completely according to the paint manufacturer’s instructions. This is crucial for proper adhesion of subsequent coats.
- Apply Additional Coats: Apply a second (and possibly a third) coat of paint for optimal coverage and durability. Two to three thin coats are usually better than one thick coat.
Painting the Court Lines:
- Using a Line Striping Machine: If you have access to a line striping machine, load it with the appropriate line paint. Carefully guide the machine along the taped lines for crisp, straight lines.
- Manual Line Painting: If painting by hand, use a quality brush or a small roller designed for detailed work. Apply the paint carefully within the taped boundaries.
- Allow Lines to Dry: Let the painted lines dry completely.
Step 5: Removing Painter’s Tape
Once the paint is dry to the touch but not fully cured, carefully remove the painter’s tape.
- Pull at an Angle: Pull the tape off slowly and at a 45-degree angle away from the painted line. This helps prevent the paint from peeling up with the tape.
- Touch-Ups: If any paint has bled under the tape, use a small brush to carefully touch up the lines.
Step 6: Final Curing and Use
The paint needs time to fully cure and harden before the court can be used.
- Curing Time: Refer to the paint manufacturer’s guidelines for the recommended curing time. This can range from a few days to a week or more, depending on the paint type and weather conditions.
- Avoid Heavy Traffic: During the curing period, keep the court free from foot traffic, vehicles, and equipment.
Choosing the Right Paint for Your Basketball Court
Selecting the best paint for basketball courts is essential for a durable and attractive finish.
Types of Outdoor Basketball Court Paint:
- Acrylic Latex Paint: This is a popular choice for its durability, flexibility, and ease of use. It’s water-based, making cleanup simple. Look for “100% acrylic” formulations for the best performance.
- Epoxy-Based Paint: Epoxy paints are known for their exceptional hardness, durability, and resistance to chemicals and abrasion. They are a premium option but offer superior longevity.
- Silicone-Based Concrete Paint: These paints offer good breathability and flexibility, which can be beneficial for concrete surfaces that may expand and contract.
Key Features to Look For:
- UV Resistance: Protects the paint from fading due to sun exposure.
- Weather Resistance: Withstands rain, snow, and temperature fluctuations.
- Abrasion Resistance: Stands up to foot traffic and basketballs.
- Flexibility: Accommodates minor surface movements without cracking.
- Non-Slip Additives: Some paints include additives to provide better traction. You can also purchase these additives separately to mix into your paint.
Basketball Court Maintenance
Regular basketball court maintenance will ensure your painted court looks great and lasts for years.
Regular Cleaning:
- Sweep Regularly: Keep the court free of leaves, dirt, and debris.
- Wash as Needed: If the court becomes dirty, wash it with water and a mild detergent. A pressure washer can be used for tougher grime, but be cautious not to use excessive pressure.
Inspecting for Damage:
- Check for Cracks and Potholes: Periodically inspect the surface for any new damage and repair it promptly.
- Look for Peeling Paint: Address any areas where paint is starting to peel or chip.
Seasonal Care:
- Winter: In areas with freezing temperatures, snow and ice can damage the surface. Consider covering the court or clearing snow promptly. Avoid using salt or harsh chemicals for de-icing, as they can damage the paint and surface.
Frequently Asked Questions About Painting a Basketball Court
Here are some common questions people have when undertaking a DIY basketball court project.
Q1: How long does it take to paint a basketball court?
A1: The time it takes can vary significantly depending on the size of the court, the condition of the surface, the number of coats of paint applied, and whether you’re doing it yourself or hiring professionals. Typically, a DIY project can take anywhere from 2 to 5 days of active work, plus drying and curing time. This includes preparation, cleaning, repairs, taping, painting, and cleanup.
Q2: What is the best time of year to paint a basketball court?
A2: The best time to paint a basketball court is during warm, dry weather with low humidity. Spring and early fall are often ideal. Ensure there are no rain forecasts for at least 48-72 hours after painting, as rain can ruin a fresh paint job. The ideal temperature range for most paints is between 50°F (10°C) and 85°F (29°C).
Q3: How much paint do I need for a basketball court?
A3: The amount of paint needed depends on the court’s dimensions and the number of coats you plan to apply. A general rule of thumb is that one gallon of paint covers approximately 300-400 square feet. For a standard NBA-sized court (94 ft x 50 ft = 4,700 sq ft), you’ll likely need at least 12-16 gallons of paint for two coats, and more if you’re painting multiple colors or using primer. It’s always a good idea to buy a little extra to ensure you have enough for touch-ups or any unexpected needs.
Q4: Can I paint over old basketball court paint?
A4: Yes, you can paint over old basketball court paint, but only if the old paint is in good condition. If the old paint is peeling, flaking, or severely worn, it’s best to remove it as much as possible before applying new paint. Thorough cleaning and potentially light sanding or power washing can help the new paint adhere better to the old surface.
Q5: What are the best colors for a basketball court?
A5: Traditionally, basketball courts are painted in shades of green, blue, or red, often with contrasting colors for lines and key areas. However, you can choose any colors you like for a personalized look. Consider how the colors will look in different lighting conditions and ensure there’s enough contrast between the main court color and the lines for visibility and safety. Darker colors can fade more quickly in direct sunlight.
Q6: Do I need to seal a basketball court after painting?
A6: While not strictly necessary, applying a clear sealant over the painted surface can provide an extra layer of protection against UV rays, weather, and abrasion, significantly extending the life of your paint job. Look for a high-quality, durable acrylic or polyurethane sealer designed for outdoor sports courts.
Q7: What if I mess up the lines?
A7: If you notice any paint bleeding under the tape, act quickly while the paint is still wet. Carefully use a damp cloth or a fine-tipped brush to wipe away the excess paint. If the paint has already dried, you might need to use a razor blade scraper or carefully touch up the line once the main coat is dry. Sometimes, a clean-up line of the original base court color along the edge of the taped line can mask minor imperfections.
By following these detailed steps and using the right materials, you can successfully paint your own basketball court and enjoy a revitalized playing space for years to come. Happy painting!