
Want to learn how to draw people playing basketball? This guide is for you! We’ll walk through the steps to capture the dynamic energy of a basketball game, from dribbling to scoring.
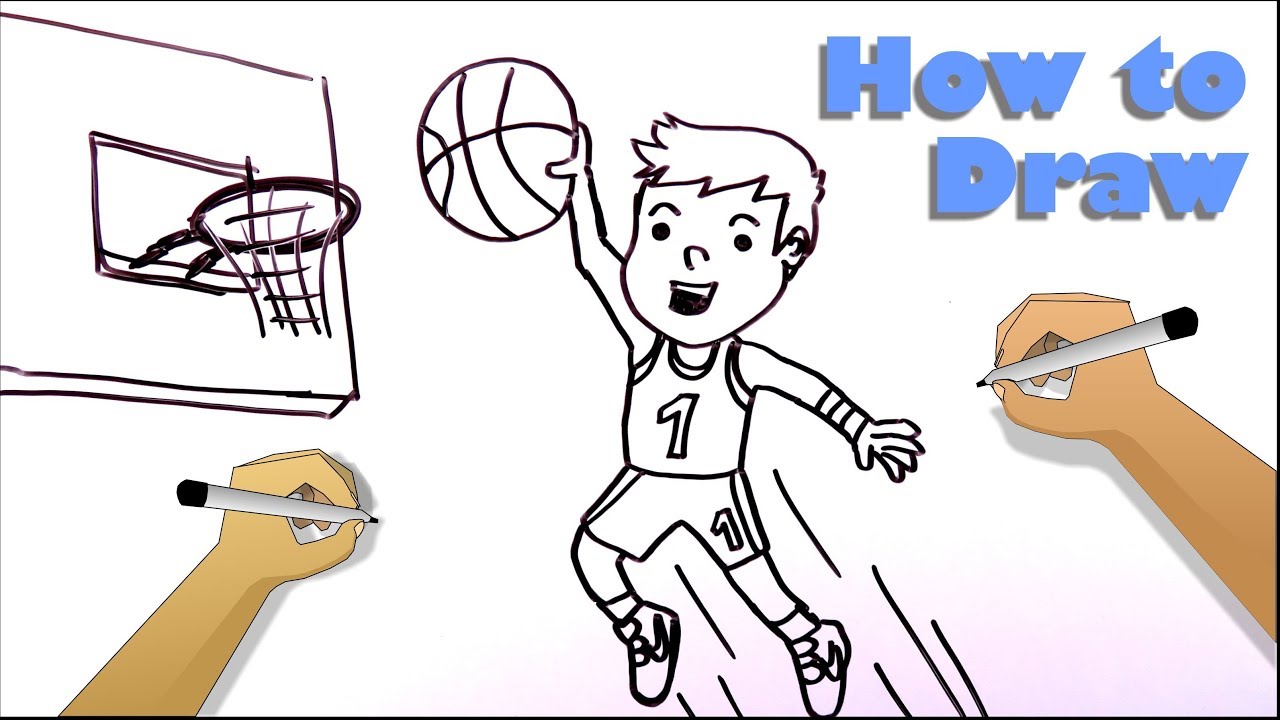
Image Source: i.ytimg.com
Capturing the Flow: The Basics of Drawing Basketball Action
Drawing basketball players in motion requires a good grasp of anatomy and movement. It’s not just about drawing a still figure; it’s about showing the story of the game. We’ll break down how to get started with drawing basketball action, focusing on how to sketch a basketball player, how to draw basketball dribbling, and how to draw a basketball hoop.
The Foundation: Basic Shapes and Proportions
Before diving into complex poses, start with the fundamentals. Think of the human body as a collection of simple shapes – circles for joints, ovals for the torso and head, and cylinders for limbs. This makes it easier to build up a pose.
Key Proportions to Remember:
- Head to Body: The average adult is about 7-8 heads tall.
- Arm Span: An adult’s arm span is roughly equal to their height.
- Leg Length: Legs make up about half of a person’s total height.
When drawing action poses, these proportions can stretch and compress. A player reaching for a rebound will have their arms extended, making them appear taller. A player driving to the basket will have bent knees, compressing their lower body.
Getting the Pose Right: Using Reference Images
The absolute best way to learn how to draw basketball action is by using reference photos. Look for images of players in dynamic poses: shooting, dribbling, jumping, defending.
Tips for Using References:
- Don’t Trace: Use references to study form, not to copy directly. Analyze the lines of the pose.
- Break it Down: See the basic shapes within the reference image. Can you see the oval torso, the cylinders for the arms and legs?
- Focus on the Action: What makes the pose look dynamic? Is it the angle of the body? The extension of a limb?
Drawing a Basketball: The Essential Prop
A crucial element in drawing basketball is, of course, the ball itself. How to sketch a basketball is surprisingly simple once you know a few tricks.
Steps to Drawing a Basketball:
- Start with a Circle: Draw a perfect circle. You can use a compass or a round object.
- Add the Seams: Basketballs have distinctive seams. Draw a slightly curved line down the middle, from top to bottom. Then, add another curved line across the middle, perpendicular to the first one. These lines should have a slight bulge in the center, reflecting the ball’s spherical shape.
- Curved Seams: Add two more curved lines, one on each side, connecting the top and bottom seams. These should also bulge slightly outwards.
- Add Texture (Optional): For a more realistic look, you can lightly shade or add small dots to suggest the pebbled texture of the ball.
Drawing a Basketball Hoop: The Target
No basketball drawing is complete without the hoop! Drawing a basketball hoop is relatively straightforward.
Steps to Drawing a Basketball Hoop:
- The Backboard: Draw a rectangle for the backboard.
- The Hoop: From the backboard, draw two lines extending forward, slightly angled downwards. Connect these lines with a circle for the rim.
- The Net: Draw cascading lines from the rim to create the net. Start with a few straight lines, then add curves to show the slack.
Mastering the Moves: Specific Basketball Poses
Now that we have the basics, let’s dive into drawing specific basketball moves. This is where we truly capture the essence of drawing basketball motion.
Drawing Basketball Dribbling
Drawing basketball dribbling involves showing the interaction between the player’s hand and the ball, and the motion of the ball itself.
Key Elements for Dribbling:
- Hand Position: The dribbling hand is typically cupped over the ball, with fingers spread. The wrist is bent.
- Ball Position: The ball should be shown slightly above or below the hand, depending on whether the player is pushing it down or receiving it.
- Motion Lines: Use light, curved lines around the ball to indicate its movement.
- Body Lean: The player will often lean their body forward and bend their knees for balance and power.
Step-by-Step Dribbling:
- Sketch the Player: Start with a basic figure in a slightly bent-knee, leaning pose.
- Place the Ball: Position the basketball near the player’s hand. For a downward dribble, the ball is slightly below the hand. For an upward dribble, it’s just been pushed down and is starting to rise.
- Draw the Hand: Draw the hand cupped around the ball, showing the fingers.
- Add Motion: Use faint lines to show the ball’s trajectory.
- Refine the Pose: Adjust the player’s body for balance. Their opposite arm might be out for balance or to protect the ball.
Drawing a Slam Dunk
Drawing a slam dunk is one of the most exciting and challenging poses. It requires showing powerful upward momentum and a dramatic pose.
Key Elements for a Slam Dunk:
- Upward Force: The player’s body should be angled upwards. Legs are bent and extended.
- Arm Extension: One or both arms are reaching high above the head.
- Head Position: The head might be tilted back slightly, looking towards the hoop.
- Ball Grip: Show the player gripping the ball firmly.
- Dramatic Lines: Use strong lines to convey power and speed. Motion lines are essential here.
Step-by-Step Slam Dunk:
- Sketch the Jump: Start with a dynamic pose showing the player leaping upwards. Think of an arching line for the body.
- Place the Ball: Position the ball high above the head, ready to be slammed.
- Draw the Reaching Arm(s): Extend the arm(s) upwards with power. Show the muscles tensing.
- Body Contortions: The torso might be twisted, the legs tucked or extended.
- Add Detail: Draw the expression on the player’s face, the flow of the jersey, and motion lines around the ball and limbs.
Shooting Form
A player shooting requires a stable base and a precise motion.
Key Elements for Shooting:
- Feet: Usually shoulder-width apart, with one foot slightly ahead of the other.
- Knees: Slightly bent, ready to spring.
- Ball Position: Held in front of the body, at eye level or slightly higher, supported by the non-shooting hand.
- Shooting Arm: Elbow tucked in, forearm vertical, wrist cocked.
- Follow-Through: The shooting arm extends upwards, wrist flicked towards the hoop.
Defensive Stance
Defense is just as crucial and can be drawn in many dynamic ways.
Key Elements for Defense:
- Low Center of Gravity: Knees deeply bent, back relatively straight.
- Arms Out: Arms are often extended to the sides or in front, ready to block or steal.
- Footwork: Show feet in a sliding or shuffling position.
- Eyes: Focused on the opponent.
Bringing it to Life: Adding Detail and Style
Once you have the basic poses, it’s time to add the details that make your drawings of basketball players come alive.
Expressing Movement and Energy
Drawing basketball motion isn’t just about the pose; it’s about the feeling of speed and force.
- Motion Lines: As mentioned, these are key. They should follow the direction of movement.
- Blurring: You can suggest speed by blurring the edges of the ball or limbs that are moving fastest.
- Sweat and Exertion: Add details like sweat droplets or a strained expression to show the effort.
- Clothing Flow: Jerseys and shorts will ripple and bend with the player’s movements.
Different Styles: Cartoon vs. Realistic
When you’re drawing basketball, you can choose your style.
- Cartoon Basketball Players: This style allows for exaggeration. You can make players super tall, limbs longer, and poses more extreme. The focus is on fun and energy. Think of simplified shapes and bold outlines.
- Realistic Basketball Drawing: This requires more attention to anatomy, shading, and detail. You’ll want to capture the musculature, the texture of the ball, and the subtle curves of the body.
Creating a Basketball Game Scene
Drawing a basketball game involves more than just one player. You need to compose a scene with multiple figures, the court, and the hoop.
Tips for a Game Scene:
- Establish the Foreground and Background: Who is the main focus? What’s happening around them?
- Show Interaction: Are players passing, defending, or reaching for the ball?
- Use Perspective: The court lines will converge towards a vanishing point, giving depth to your drawing.
- Vary Poses: Show players in different actions – dribbling, shooting, jumping, guarding.
- Crowd and Atmosphere: If you want to show a full game, you can add simplified figures in the background or stadium seating.
Advanced Techniques for Dynamic Poses
Let’s explore how to push your basketball drawings further.
Foreshortening
Foreshortening is when an object or body part appears shorter than it actually is because it’s angled towards the viewer. This is vital for dynamic basketball poses.
Foreshortening Tips:
- Exaggerate the Angles: When a limb is coming towards you, make it look shorter and thicker.
- Simplify Forms: Break down the foreshortened limb into simpler shapes (cylinders, cones) to make it easier to draw.
- Use Reference: This is where strong reference photos are invaluable. Study how knees, elbows, and feet look when foreshortened.
Capturing Weight and Balance
Even in mid-air, players have weight. Showing this makes your drawings more convincing.
Tips for Weight and Balance:
- Center of Gravity: Think about where the player’s weight is distributed. A player jumping will have their weight shifted upwards.
- Counter-Balance: A player might extend an arm or leg to balance their body during a complex move.
- Ground Force (if applicable): If a player is pushing off the ground, show the tension in their legs and the slight compression of the floor.
Putting It All Together: A Comprehensive Approach
To excel at drawing basketball, practice consistently. Focus on one element at a time.
Practice Routine Suggestions:
- Day 1: Focus on drawing the basketball itself from different angles.
- Day 2: Practice drawing basic figure poses in athletic stances.
- Day 3: Work on drawing basketball dribbling with various hand and ball positions.
- Day 4: Tackle drawing a slam dunk or other jumping poses.
- Day 5: Practice drawing a player shooting or defending.
- Weekend: Try to combine elements and sketch a simple game scene.
Remember to study anatomy. The better you know how the body works, the easier it will be to draw it in action. Resources like anatomy books or online tutorials specifically for artists can be incredibly helpful.
Frequently Asked Questions About Drawing Basketball
Q1: What is the hardest part of drawing a basketball player in action?
A1: The most challenging aspect is often accurately depicting the drawing basketball motion and conveying the sense of speed and power. This involves mastering foreshortening, understanding the flow of movement, and using dynamic lines effectively.
Q2: Can I really learn to draw basketball by just using references?
A2: Yes, using reference images is a crucial part of learning. It helps you see how bodies move, how muscles work, and how light falls on forms in dynamic situations. However, combine this with an understanding of basic shapes and anatomy for the best results.
Q3: Who is the best player to draw for action poses?
A3: Any player known for their athleticism and exciting moves will make a great subject. Players like Michael Jordan, LeBron James, or Stephen Curry are often depicted in iconic action poses, making them excellent references for drawing basketball moves.
Q4: How do I make my drawings look more dynamic?
A4: To make your drawings more dynamic, focus on:
* Exaggerating poses: Push the angles and stretches.
* Using strong diagonals: These lines often convey movement and energy.
* Incorporating motion lines: Show the path of moving objects.
* Creating a sense of speed: Use blurring or smudging techniques subtly.
* Showing the consequences of movement: Like a jersey flapping in the wind or hair flying back.
Q5: What are the essential elements to include when drawing a basketball game?
A5: When drawing a basketball game, you’ll need to include:
* Multiple players in various action poses.
* The basketball court with its perspective lines.
* A basketball hoop and net.
* Details that suggest the energy of the game, like sweat, fast movement, and the ball in play.
Q6: How can I improve my drawing basketball dribbling skills?
A6: Practice drawing the ball in different positions relative to the player’s hand. Pay attention to the bend of the wrist and the spread of the fingers. Experiment with showing the ball slightly blurred to indicate its rapid motion. Observing players dribble in real life or on video can also provide valuable insights.
By following these steps and practicing regularly, you’ll be well on your way to creating compelling drawings of basketball players in action. Happy drawing!