
What is a zone defense in basketball? A zone defense is a defensive strategy where players guard specific areas or “zones” of the court rather than marking individual opposing players. Can I beat the zone defense with good passing? Yes, beating a zone defense with good passing is one of the most effective ways to dismantle it. Who is the best player at beating zone defenses? While many players excel, historically, players with exceptional court vision and passing ability like Magic Johnson and LeBron James are often cited for their mastery.
Beating a zone defense in basketball can often feel like trying to solve a complex puzzle. Instead of chasing individual players, you’re faced with a wall of bodies strategically positioned to intercept passes and block driving lanes. Many teams struggle against the zone, resorting to hurried shots and turnovers. But it doesn’t have to be that way. With the right approach, you can break down any zone defense, making it look easy. This guide will equip you with the strategies and tactics to dismantle zone defenses efficiently.
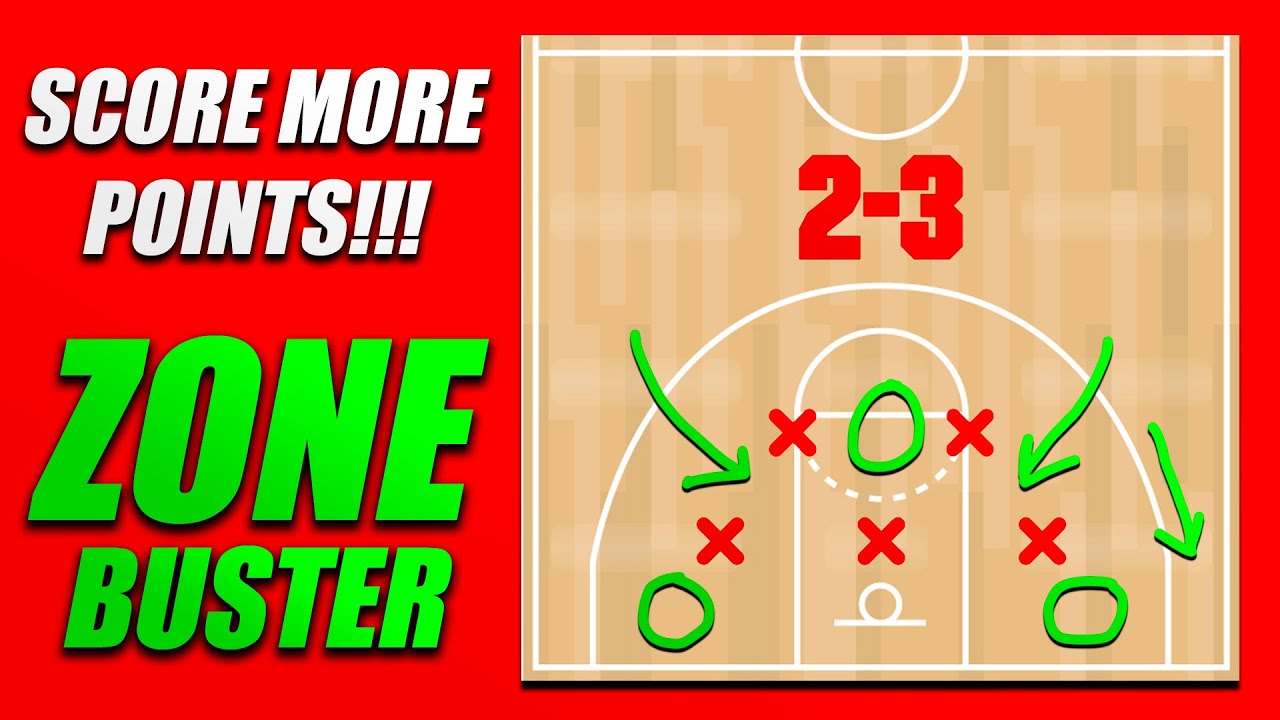
Image Source: i.ytimg.com
Deciphering the Zone: Key Principles for Success
To effectively attack a zone, you first need to grasp how it operates. Zone defenses aim to clog passing lanes, force turnovers, and discourage dribble penetration by presenting multiple defenders to the ball. They rely on communication and the ability of defenders to shift and cover open areas as the ball moves.
Common Zone Formations
- 2-3 Zone: Two guards up top, three players along the baseline. This is the most common zone, strong against dribble penetration and inside scoring.
- 3-2 Zone: Three players up top, two along the baseline. This zone is better at contesting perimeter shots but can be vulnerable in the corners and down low.
- 1-3-1 Zone: One player at the point, three across the free-throw line extended, and one on the baseline. This zone aims to trap the ball on the wings and can be disruptive.
- Box-and-One: Four defenders play a zone (typically a 2-2 box), while one defender marks the opponent’s best scorer man-to-man.
Core Strategies to Break Down the Zone
Beating a zone defense isn’t about brute force; it’s about precision, smart decision-making, and exploiting the inherent weaknesses of any static defensive alignment.
1. Superior Ball Movement
This is the bedrock of attacking any zone. Static play against a zone is a recipe for disaster. You need to make the zone shift, and the only way to do that is with constant, crisp passing.
The Power of Passing Accuracy
- Quick Handoffs: Instead of a long pass, use quick handoffs to keep the ball moving and defenders off balance.
- Skip Passes: These long, cross-court passes are crucial for pulling defenders out of position and creating open shots. They bypass multiple defenders.
- Entry Passes: Getting the ball into the post or to high-post players can draw defenders and create opportunities for cutters or kick-outs.
Optimizing Ball Movement
- Avoid Cross-Court Passes in Traffic: While skip passes are good, aim to pass into areas where defenders are less likely to intercept.
- Use the Bounce Pass: A well-timed bounce pass can often get through tight passing lanes where an overhead pass might be blocked.
- Develop Chemistry: Players need to trust each other and anticipate movements. This takes practice and repeated game-like drills.
2. Exploiting the Gaps: Finding Open Spaces
Zones, by their nature, have gaps and seams. Your objective is to find and exploit these areas.
Penetration and the Kick-Out
- Dribble Penetration: The most effective way to force a zone to collapse is with dribble penetration. When a guard drives into the heart of the zone, defenders must react. This creates openings for kick-out passes to open shooters.
- Creating Mismatches: Penetrating can also draw a taller defender to guard a smaller guard, potentially leading to a mismatch that can be exploited with a quick post-up or pass inside.
The “High-Low” Offensive Attack
- What is High-Low Offense? This is a classic strategy for beating zones, particularly against a 2-3 zone. It involves placing a player at the high post (near the free-throw line) and another player in the low post (near the basket).
- How it Works: The high-post player receives a pass and can either shoot, pass to a cutter, or deliver a pass to the low-post player. The low-post player, often facing a smaller defender or being double-teamed, can then either score or pass out to an open shooter. This forces the zone to commit defenders to the paint, opening up perimeter opportunities.
- Player Positioning: Typically, your tallest or most skilled post player occupies the low post. A versatile player who can pass and shoot, or a guard with good court vision, works well at the high post.
3. Overloading the Zone
Overloading means concentrating offensive players in a specific area of the court to force the zone defenders to overcommit.
The Overload Offense Strategy
- Concentrating Force: Instead of spreading out evenly, you might send three or four offensive players to one side of the floor.
- Creating Scarcity: This forces the zone to shift heavily to that side, leaving the opposite side (the “weakside”) vulnerable.
- Weakside Opportunities: Once the zone shifts, a quick skip pass to the weakside shooter can result in an open look. The weakside defender is often caught out of position or forced to close out hard.
Executing the Overload
- Player Roles: Ensure players understand their roles in an overload. The players involved in the overload need to be good passers and cutters. The player on the weakside needs to be ready to catch and shoot or drive.
- Timing is Key: The overload needs to be executed with purpose. The ball should enter the overloaded area, and once defenders commit, the ball should be moved quickly to the weakside.
4. Utilizing the “Gap” Cutter
This is a simple yet effective tactic that exploits the space between zone defenders.
Cutting Through the Seams
- Identifying Gaps: Watch where the zone defenders are positioned. There will always be small gaps between them.
- The Baseline Drive: A player can dribble towards the baseline and draw a defender. As that defender moves, a teammate can cut from the weakside along the baseline into the vacated space.
- The Middle Drive: Similarly, a player can dribble into the middle of the zone. As defenders converge, a player can cut from the wing towards the basket through the passing lanes.
5. Attacking the High Post
The area around the free-throw line is often a vulnerable spot in many zone defenses.
The High Post’s Advantage
- Decision-Making Hub: A player at the high post is in a prime position to see the entire court. They can shoot, pass to cutters, or swing the ball to the perimeter.
- Drawing Defenders: When the ball enters the high post, the closest zone defender will likely step up to challenge. This opens up opportunities for cutters behind them or for passes to the perimeter.
6. Offensive Rebounding Against the Zone
Even if your initial shot doesn’t fall, a zone defense can still be exploited.
Securing Second Chances
- Zone Vulnerabilities: Zones can sometimes be slower to react to offensive rebounds because defenders are focused on maintaining their area rather than their man.
- Crashing the Boards: Send players from the perimeter to crash the offensive glass. Look for opportunities to get put-backs or kick-outs for open shots.
- Post-Up Advantage: If you can get the ball into the post against a zone, offensive rebounds become even more potent. The post player can fight for position and tip-in or create a quick second-chance opportunity.
7. The Mikan Drill and Post Moves
While zones are often associated with perimeter play, don’t forget the interior.
Dominating the Paint
- What is the Mikan Drill? Named after George Mikan, this drill focuses on developing touch and repetition around the basket. Players practice layups from both sides of the hoop, alternating hands, and focusing on soft finishes.
- Post Moves Against a Zone: Even against a zone, post players can still execute basic post moves. If a player catches the ball in the post, they can use face-up jumpers, drop steps, or hook shots. The key is to be decisive and exploit the defender who is assigned to guard that area.
- Drawing Fouls: Aggressive post play can draw fouls, putting your team in the bonus and potentially getting key defenders in foul trouble.
Putting It All Together: Practical Drills and Practice
Translating these strategies into effective gameplay requires dedicated practice.
Drills to Simulate Zone Attack
- “2-on-1” or “3-on-2” Continuous: Run drills where offensive players try to score against a zone shell (e.g., 3 players attacking 2 defenders, or 4 attacking 3). Focus on ball movement, finding open shooters, and exploiting seams.
- High-Low Passing Drill: Two players set up at the high post and low post. A guard brings the ball up and passes to the high post. The high post then works on passing to the low post or kicking out.
- Overload Drills: Set up a 5-on-5 or 4-on-4 scrimmage. Designate specific offensive plays that overload one side of the floor, forcing the zone to shift and then swinging the ball to the weakside.
- “Zone Attack” Shooting Drills: Practice shooting from spots that are typically open against various zones (e.g., corners against a 3-2, wings against a 2-3).
Key Player Roles
- Point Guard/Ball Handler: Needs excellent court vision, passing accuracy, and the ability to penetrate and draw defenders.
- Wing Players: Must be good shooters and cutters, able to exploit gaps and move without the ball.
- Post Players: Need to be strong on the boards, capable of receiving entry passes, and executing quick moves or passes out of the post.
Common Pitfalls to Avoid
- Hero Ball: Trying to beat the zone one-on-one with a dribble or a contested shot.
- Standing Still: Players not moving without the ball, making it easy for the zone to stay organized.
- Forcing Passes: Trying to thread passes through impossibly small passing lanes.
- Ignoring the Weakside: Letting the entire offense be on one side of the floor, predictable and easy to defend.
- Rushing Shots: Taking quick, ill-advised shots just to get the ball away.
Frequently Asked Questions (FAQ)
Q1: How do I prevent my passes from being intercepted by the zone?
A1: Focus on crisp, accurate passes. Use bounce passes when passing through tight spaces. Look for skip passes to change the point of attack. Have cutters move into open spaces to create better passing angles.
Q2: When should I dribble against a zone?
A2: Dribble penetration is most effective when it’s used to draw defenders and create passing opportunities. Drive into gaps to collapse the defense, then kick out to open teammates. Avoid dribbling aimlessly without a purpose.
Q3: What is the best way to attack a 2-3 zone?
A3: The 2-3 zone is best attacked by getting the ball into the high post or employing the high-low offense. Quick ball movement, skip passes to the corner, and dribble penetration into the gaps can also be very effective.
Q4: Should I always shoot when I get the ball against a zone?
A4: No, shooting is just one option. Always look for the best available shot or pass. If you have an open shot, take it. If a teammate is open, pass it. If you can drive and draw defenders, do so.
Q5: How important are offensive rebounds against a zone?
A5: Offensive rebounds are very important. Zones can be slow to box out effectively, providing opportunities for put-backs and second-chance points.
By implementing these strategies, focusing on precise ball movement, and exploiting the inherent weaknesses in zone defenses, you can transform your team’s offensive output and make beating the zone look easy. Remember, practice and game-like repetitions are crucial for mastering these tactics.